When Google introduced Cardboard viewer at I/O 2014, it was a game-changing moment as it was a simple, yet revolutionary product that brought Virtual Reality (VR) technology to the masses. Unlike its more expensive and full-featured counterparts like the Oculus Rift and HTC Vive, the only requirement was that the user had a mobile device with the necessary application(s) installed. There was no need for a jaw-dropping, wallet-busting personal computer with a state-of-the-art graphics card installed. It was cheap to produce and hence, available at a price-point that the ninety-nine percent could afford. It Immediately got me thinking about how I could combine Oracle APEX and VR.

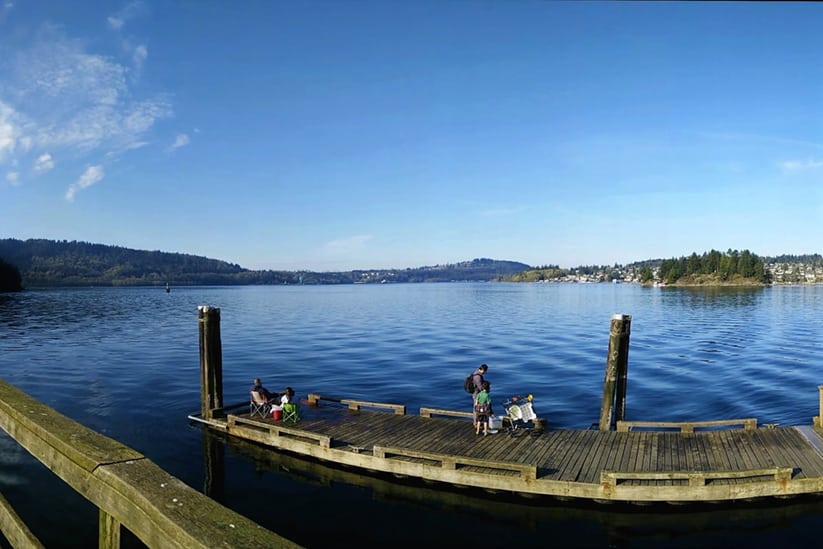
Since owning a Cardboard viewer, I became very interested in immersive experiences using 360 photos. I found that it was a new dimension for sharing “the moment” with friends and family. While there are many options for capturing 360 photos, I opted for the cheapest: FREE! Yes, on Google Playstore, you can install the Cardboard Camera at no cost!
I have several passions: technology, photography, and Oracle Application Express (APEX)! So this was a perfect opportunity to marry all three and produce a single application offspring that would allow me to share 360 photos including VR support. Here’s how I quickly whipped up an APEX application that allows users with a Cardboard viewer to view and navigate a series of photographs that I have shared on my personal server.
Note: I will not go into the nitty gritty details on how to develop applications with APEX. Here’s a good starting point if you need some basic understanding on the technology. Try it! You’ll be amazed.
Create a Report and Form to Manage Photos
Create a CRUD application to manage the photos. All it needs is an Interactive Report and a standard Form page to manage the uploads.
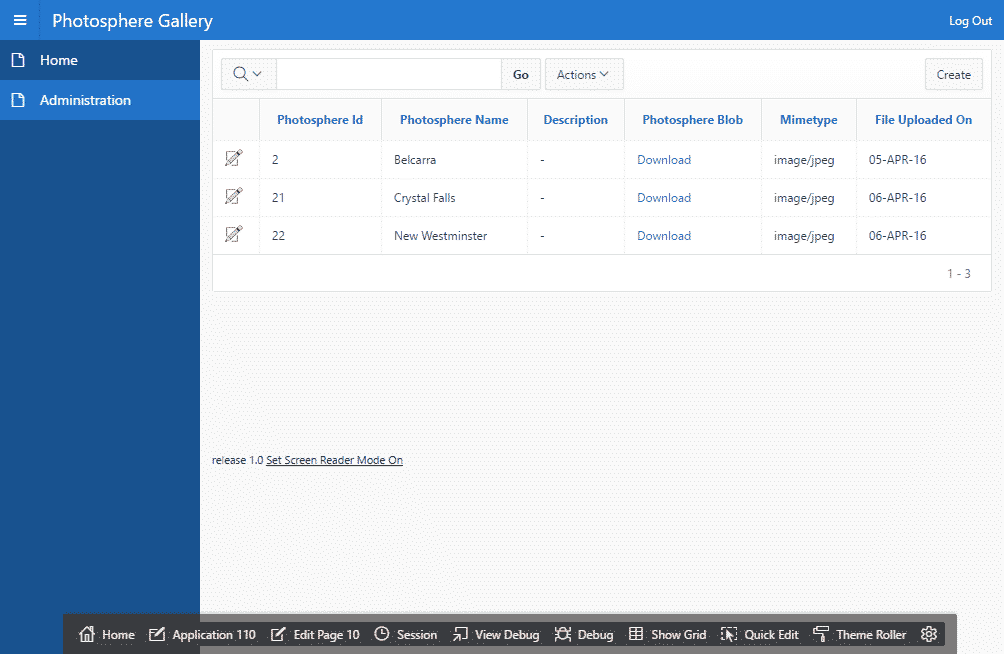
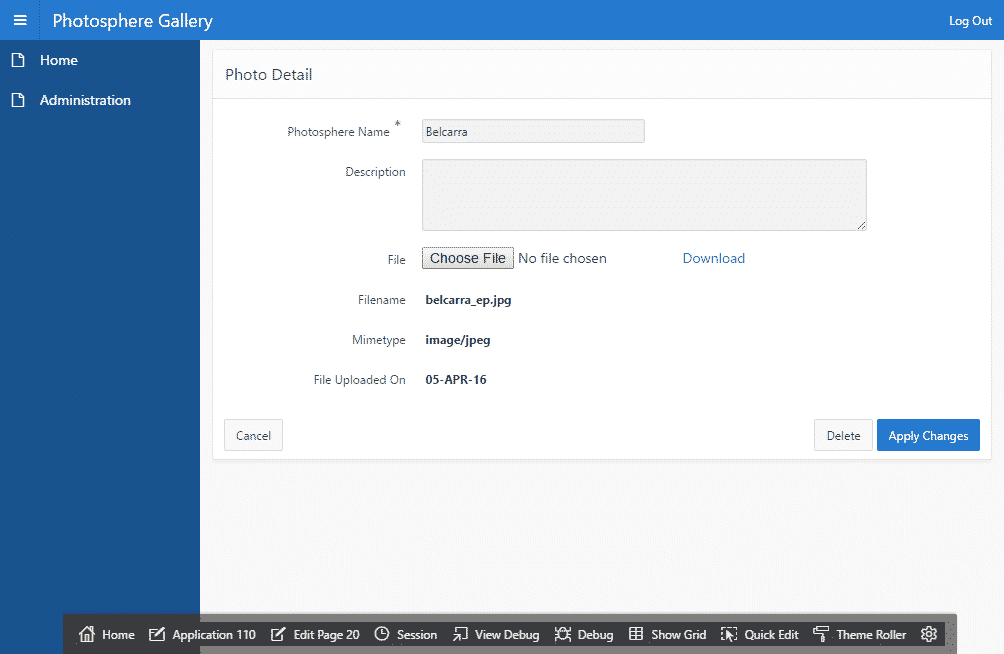
Here are some example fields that I used for this demo:

Create a RESTful Service to Access Images
For the convenience of accessing the images stored in the database, I opted to create a dedicated RESTful module that would accept the photo’s primary identifier and return the blob as a media resource.

Create the Photosphere Viewer Homepage
To render the VR environment, I used A-Frame, an open-source framework from Mozilla that relies on a simplified markup language for describing VR content.
- Create a page to host the photosphere.
- Create a Classic Report (CR) using the following SQL query as a template:
select
  'img_' || to_char(photosphere_id, 'FM099') as img_id
  , myworkspace/photosphere/image/' || photosphere_id as img_url
from photospheres
- Create a Report Template and apply it to the CR. The template should contain the following:
Row Template 1
<img id="#IMG_ID#" class="sky-image" src="#IMG_URL#">
Before Rows
<a-scene>
  <a-assets>
After Rows
    <img id="nav-right" src="#APP_IMAGES#img/nav-right.png">
  </a-assets>
  <a-entity position="0 1.8 4">
    <a-camera id="camera">
      <a-cursor color="#FFFFFF"></a-cursor>
    </a-camera>
  </a-entity>
  <a-sky id="sky" radius="5000" segments-height="128" segments-width="128" rotation="0 0 0"></a-sky>
  <a-image id="nav-next" src="#nav-right" position="1 0 0" class="clickable"></a-image>
  <a-image id="nav-prev" src="#nav-right" rotation="0 180 0" position="-1 0 0"></a-image>
</a-scene>
- Add two variables to the Page’s Function and Global Variable Declaration:
var position, images;
- Create a Page Load Dynamic Action (DA) that initializes the two variables and sets the viewer to display the first image. Add a single action to execute the following JavaScript code:
position = 0;
images = $('a-assets img.sky-image');

this.affectedElements.attr('src', '#' + images[position].id);
Set the Affected Elements using the jQuery Selector #sky.
- Create two Click DAs for navigating between the photos. Set the event selection type using the jQuery Selectors #nav-next and #nav-prev respectively. Add a single action to execute the following JavaScript code.For the “next” event:
if(++position >= images.length) {
  position = 0;
}

this.affectedElements.attr('src', '#' + images[position].id);
For the “previous” event:
if(--position < 0) {
    position = images.length - 1;
}

this.affectedElements.attr('src', '#' + images[position].id);
In both DAs, the Affected Elements are selected using the jQuery Selector #sky.
Note: The jQuery Selectors used in the DAs are dependent on the ID attribute used in the Report Template – so, change them if necessary.
Here’s a screenshot of the application running, and just to prove that APEX is behind this, I left the developer toolbar clearly visible at bottom of the screen. 😉
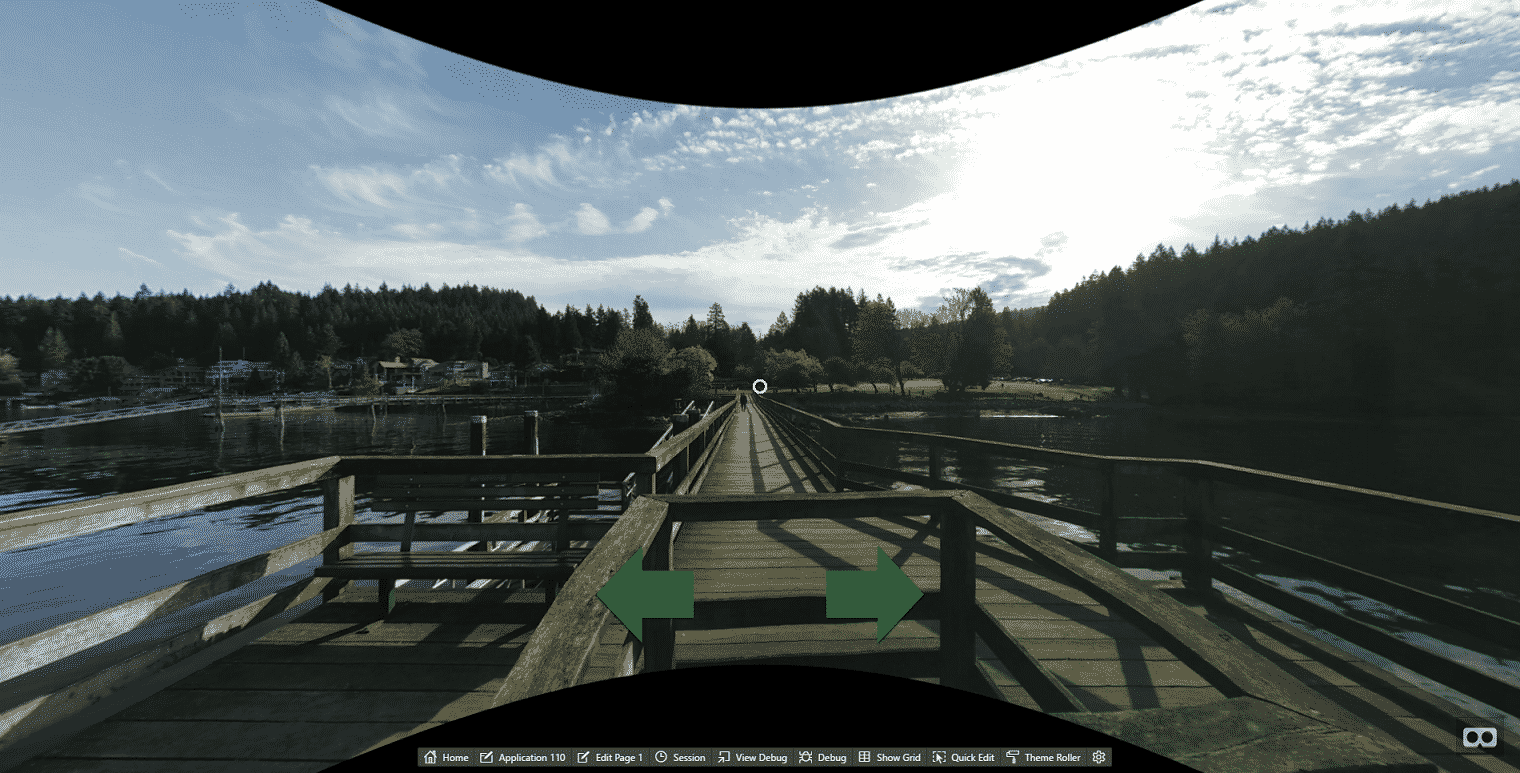
Even better, try this with a Cardboard Viewer and immerse yourself in the beauty of British Columbia.
That’s it! Simple eh? And that’s why I love and rave about APEX. While you could do the same probably on any platform, I did not have to worry about the ubiquitous CRUD features and could spend most of my time learning about a new technology and JavaScript framework. I could focus on the business problems (which in this case was experiential sharing through 360 photos), what features were necessary to meet those requirements and how to implement them.
I hope you’ve enjoyed this blog on Oracle APEX and VR. Happy sharing!
Learn more about the near-limitless possibilities of Oracle APEX. Contact Us!
